
Blokada Meets Cloudfare
Blokada is an open source ad-blocker designed for the Android operating system. It works by installing a VPN profile on your device and blocking access to known ad-hosting IPs, If you don’t already have it installed either download the .apk directly from the source, or from F-Droid on your device.
By default, Blokada will automatically use the default DNS settings of your device. The DNS works by resolving the IP address of the website you are requesting to view. This means that it can be used for nefarious purposes, especially by your IP (looking at you, Telstra) or institution.
Recently, Cloudfare has introduced a new free to use public DNS, claiming to be faster than others such as OpenDNS, and Google’s own (8.8.8.8, a standard I have used for many years). The only issue with using this on your Android device is that by routing your traffic through Cloudfare’s DNS servers (1.1.1.1, 1.0.0.1 for IPV4) manually and still have Blokada continue working. This becomes a problem, as in the last few months alone I have had over half a million requests blocked by Blokada - something I do not want to be without.
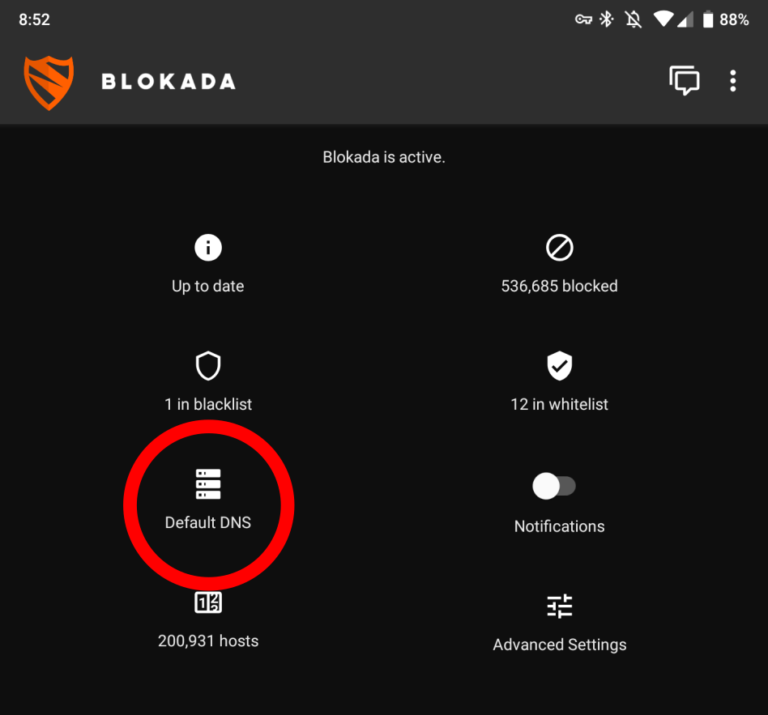
In order to get both Blokada, and Cloudfare’s 1.1.1.1 working simultaneously simply open the Blokada app on your phone and find the DNS settings:
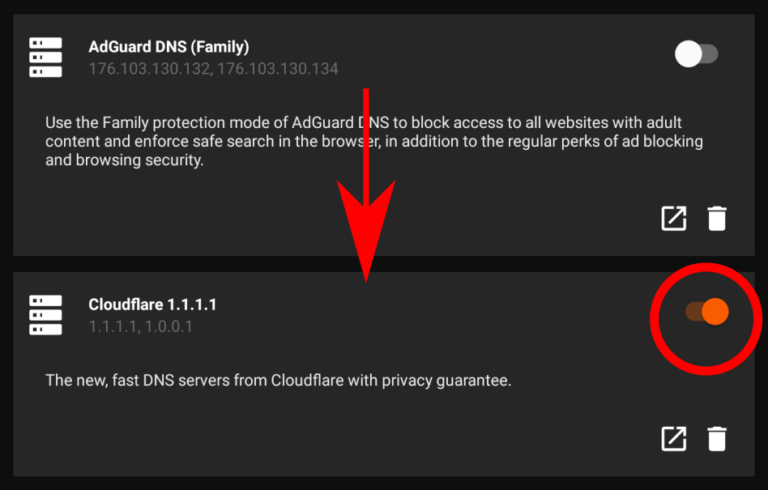
Then, in my case at least, the Cloudfare DNS settings were already there as one of the default options. By selecting this option (below), Cloudfare’s DNS settings will then replace the default DNS settings of your device while Blokada is active.
While there are still some websites that will not work while using Cloudfare’s DNS servers, the increase in speed and privacy (either from your ISP, institution, or Google) is definitely worth the switch.